
Nail pops and seam cracks in a postwar ranch house
Nail pops come from postwar lumber shrinking away from nail heads. Drive a screw next to each pop, reset the nail, fill, prime and paint. Fix them before repainting, not after. A handful of pops in one wall is normal and not a sign of a structural problem.

Rosemead grew quickly after World War II. Much of the city's housing went up in the late 1940s and 1950s, and a lot of it is the single-story ranch house: long and low, often on a concrete slab, with a stucco exterior and gypsum board walls inside.
Those houses have aged well, but their walls tend to show the same small problems, and the most common one we see is the nail pop.
This guide explains what nail pops and seam cracks are, why ranch houses of this age get them, what you can repair on your own, and what a proper fix looks like when you would rather we handle it.
What you are seeing
- Nail pops. Small round bumps or cracked circles in the paint, usually in neat vertical lines on walls or in rows on the ceiling. Each one is a nail head pushing out of the surface.
- Seam cracks. Straight lines along the joints between sheets of board, often across a ceiling or running up from the corner of a door.
- Corner cracks. A crack or peeling tape line where a wall meets the ceiling, or in an inside corner.
- Bubbled tape. A raised strip where the paper tape over a joint has let go.
Why postwar houses get them
Wall board in houses of this era was attached with nails. Lumber shrinks as it dries out over the years, and when a stud shrinks slightly away from the nail head, the nail is left standing proud of the framing. Any flex or vibration then pushes it outward through the paint.
Seasonal swelling and shrinking, people walking on the floor above or in the attic, and earthquakes all add to it.
Seam and corner cracks come from the same movement concentrated at joints. Many ranch houses also have a long, low-pitched roof whose trusses or rafters move slightly with temperature, which can open a crack where interior walls meet the ceiling.
Some owners notice that a crack opens in summer and closes in winter. That kind of seasonal movement is usually cosmetic.

Fixing a nail pop yourself
Nail pops are a satisfying fix. Here is the basic method:
- Drive a drywall screw about an inch and a half above or below the popped nail, into the stud, so it pulls the board tight.
- Tap the old nail back in below the surface, or pull it if it is loose.
- Cover both holes with a thin coat of lightweight spackle or joint compound. Let it dry, add a second coat, then spot-prime and paint.
Small seam cracks can be opened slightly with a utility knife, filled, and painted. For anything you want to stay closed, embed a strip of paper or mesh tape in compound across the crack.
When there are too many pops to chase
- Many pops across a ceiling, or a whole room's worth to fix before painting
- Cracks that return after you fill them
- Seams with bubbled or peeling tape
- Cracks that keep growing, or that appear along with sticking doors and windows
- Ceiling repairs that need a ladder and a steady hand to blend into texture
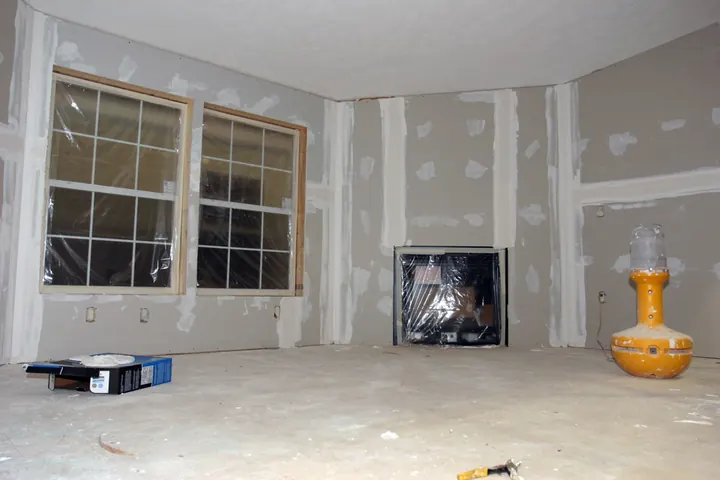
If a crack is wider than a coin's edge, runs diagonally across a wall, or shows up with doors that suddenly will not close, mention it. Those can point to movement worth having looked at by someone who evaluates foundations and structure.
How we fix pops and seam cracks
We start by marking every pop and crack in the room with painter's tape so nothing is missed. Pops get the screw-and-reset treatment. Cracked seams are cut back, loose tape is removed, and new tape is embedded in a setting compound that is harder and less prone to shrinking than premixed mud.
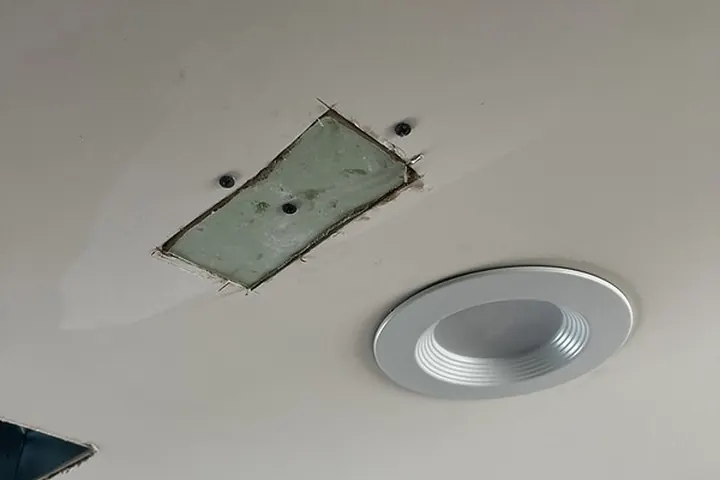
Corners get either paper tape or a flexible corner product that can tolerate a little seasonal movement.
We apply a couple of thin coats, shaped so the repair disappears in raking light from a window. Most ranch houses have some type of texture on the walls and ceilings, like orange peel, knockdown or a light sand finish. We match it with hand tools or a spray texture, then prime so the patch does not flash through the paint.
Finally we paint, either the patched area or the whole wall if the old paint has faded too much to blend. Our wall patching and paint touch-up service covers the whole process.
Why patching right matters before you paint
People often schedule a repaint and then notice dozens of nail pops once the furniture is moved. Fixing the pops first makes a big difference, because fresh paint over a popped nail just shows the bump more. If you are planning to paint, text us when the room is empty, and we will get the walls flat first.
Keeping cracks from returning
Some movement in any house is normal, so no wall stays crack-free forever. But screwing loose board tight, using setting compound and tape at seams, and letting patches cure fully before painting will keep most repairs from coming back.
Keep attic access hatches closed and avoid storing heavy loads on ceiling joists in the attic, since that adds stress to the ceiling below.
See more about the postwar Rosemead houses we work on, or text a photo of your wall to (310) 628-9399 for a quote.
When you want it done for you, our wall patching and paint touch-ups page lists the jobs we take and what to send for a quote. More on the houses themselves: repair notes for postwar Rosemead homes.
While the patches dry, we like to break for dim sum at Sea Harbour on Rosemead Boulevard.
Need a hand with this?
Call or text (310) 628-9399, Mon–Sat 8:30 AM–7 PM. A photo is usually enough for a free estimate.
Call or text for a free estimate